Looking for a budget printer that still offers great results? Epson XP-640 might be your answer. It is one of the best printers in its price range.
Find out how to download and install Epson XP-640 Driver so you can use the printer on your computer.
Epson XP-640 Features
● Compact Size
With a size of 19.8 x 15.4 x 5.4 inches (50.3 x 39.1 x 13.7 cm), this printer takes up very little space.
● Multiple Functions
XP-640 can be used for printing, copy, and scan. It’s suitable if you need to print photos or documents a lot.
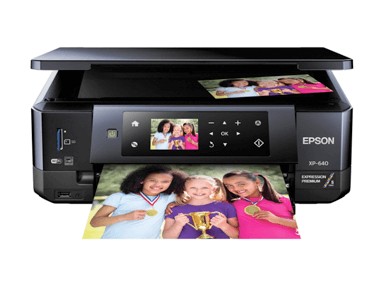
● High quality photo printing
You’ll get vivid and sharp photo quality in print and scan with Epson XP-640. The printing quality for text is also great.
● Connectivity
You can print from computer or Apple and Android devices. The printer also has a Wi-Fi direct feature.
● CD Caddy
The XP-640 has a caddy for printing CD labels.
● Rapid Print Speed
XP-640 has one of the fastest inkjet rates, so if you need a fast-printing device you should get it. It can print lab-quality 4 x 6” photos in merely 20 seconds.
This printer also has the auto duplex feature, so you can save not only time but also paper.
Conclusion
Our final verdict is that Epson XP-640 is a worthy purchase to make. It is one of the best devices for photo printing. The price is also affordable.
Overall, it is a great printer. Before using it on your computer, don’t forget to install the Epson XP-640 Driver first.
Epson XP-640 Installation for Windows
The Steps to Install Driver Printer for Windows:
1. You should download the driver printer first. Just click the download link on this website. It is better to download the driver in the ZIP or RAR file format.
2. Follow the instructions and make sure that the download process is complete. After that, you have to extract the files.
3. Find the Setup menu. Select the menu by right click on your mouse. You will see several options there. Choose the Run as Administrator option.
4. Read and follow the installation procedure carefully and click the Next button to continue to the installation process.
5. Click the Finish button by the time the installation process is complete.
6. That’s it! The printer driver installation is complete. You can try to operate the printer for printing, faxing, or scanning.
Epson XP-640 Installations for Mac OS
The Steps to Install Driver Printer for Mac OS:
1. You must download the driver printer first. We provide you with the link to download the driver on this website.
2. Click the link, follow the instructions, and download the driver in the ZIP or RAR file format.
3. Extract the file when the download process is complete.
4. Find the setup option on the menu and double click on the file.
5. You will see a pops up notification to select the printer connection options. Select the USB option and let the setup continues. Wait until the setup process is complete.
6. When the process is complete it means the printer is ready. You can test it by printing, faxing, or scanning files.
Epson XP-640 for Windows
Windows 10 32-bit, Windows 10 64-bit, Windows 8.1 32-bit, Windows 8.1 64-bit, Windows 8 32-bit, Windows 8 64-bit, Windows 7 32-bit, Windows 7 64-bit, Windows Vista 32-bit, Windows Vista 64-bit
Printer Driver Download (62-bit)
Printer Driver Download (32-bit)
Scanner Driver Download (64-bit/32-bit)
Epson XP-640 for Mac OS X
Mac OS 10.5, Mac OS 10.6, Mac OS 10.7, Mac OS 10.8, Mac OS 10.11, Mac OS 10.12, Mac OS 10.13, Mac OS 10.14
Printer Driver Download
Scanner Driver Download
Epson XP-640 Manual Download
Epson XP-640 Installation Guide Download
Epson XP-640 User’s Guide Download


