Do you have hundreds—maybe thousands—of stock photos piling up in your folders? Do you find it impossible to locate that perfect beach shot you downloaded last summer? Don’t worry. With a few simple tricks, you can turn that messy image jungle into a beautifully sorted gallery. Let’s make organizing stock photos easy and even a little fun!
Why Bother Organizing Photos?
Well, who wants to waste time scrolling through random file names like IMG_93823.jpg? Keeping things neat saves you time, helps you stay creative, and impresses your team or clients.
Best Practices for Organizing Stock Photos
1. Create a Folder System
Start with a simple folder structure. A good system might look like this:
- Main Folder: Stock Photos
- Subfolders:
- People
- Nature
- Business
- Holidays
- Technology
You can go even deeper. For example, under “People,” you might have:
- Portraits
- Groups
- Kids
- Seniors
This way, you’ll always know where to look.
2. Use Descriptive File Names
Forget names like IMG10324.jpg. Rename your files to something helpful. Try this format:
subject_location_action.jpg
Like: dog_beach_running.jpg
This helps you find the right photo just by looking at the name.
3. Tag Your Images
Some tools let you add tags or keywords to your photos. This makes searching super easy. Imagine typing “sunset” and seeing all your sunset images pop up in a flash!
Apps like Adobe Bridge, Lightroom, or even Apple Photos can help with this.
4. Use Metadata Like a Pro
Metadata is that hidden info stored in every image. You can include:
- Date Taken
- Photographer’s Name
- Categories
- Usage Rights
This is super useful if you need to credit someone or check if you’re allowed to use an image.
5. Sort by Projects or Clients
If you work with different clients—or on many projects—create folders for each one.
Example:
- Project – Summer Campaign
- Client – Green World Eco
This keeps everything related to that job in one place. Easy peasy!
Image not found in postmeta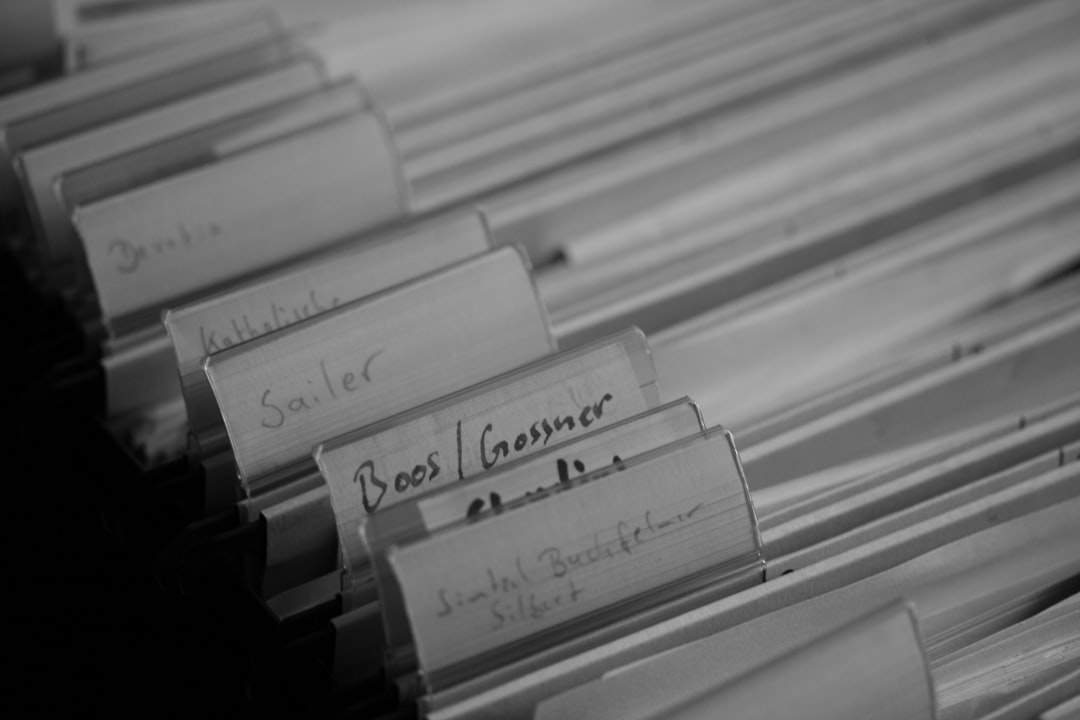
6. Pick the Right Tools
Your computer’s folders might work fine, but there are amazing tools out there. A few favorites:
- Adobe Lightroom – Great for tagging and batch editing
- Google Photos – Smart search and cloud access
- Eagle – Designed for organizing visual assets
- Bridge – Perfect for batch tagging and previewing
Try a few and see what sticks!
7. Do Regular Cleanups
Once a month, review your folders. Delete bad or duplicate photos. If you haven’t used it in a year and it’s not brilliant… toss it.
This keeps your collection tight and purposeful.
8. Back Everything Up
Hard drives crash. Don’t lose everything in one swoop. Use cloud storage like Google Drive, Dropbox, or an external hard drive.
Make a habit of clicking “Backup Now”. Future you will thank you.
Bonus Tips to Stay Ahead
- Create a Style Guide: Organize by tone, color, or branding.
- Keep Licensing Documents: Attach usage terms in the same folder.
- Use Favorites: Star your best images to find them faster.

Conclusion
Organizing your stock photos doesn’t have to be a big scary task. Think of it like decorating your digital closet. Make everything easy to find, nice to look at, and safe to keep.
So take a deep breath. Open that overloaded folder. Drag, drop, rename, and tag away! Your new photo-organizing skills are about to make life a lot easier—and your design game even stronger.
Now go ahead and sort like a superstar!


