Kwikset locks are a popular choice for homeowners who value both security and convenience. One of their most notable features is the SmartCode technology, which allows users to change the lock code as needed. Whether you’re moving into a new home, want to update your code for improved security, or simply need to reset access, knowing how to change a Kwikset lock code properly is essential. This guide walks you through the process step by step to ensure your home remains secure.
Why Changing Your Lock Code Matters
Regularly updating your lock code is a smart habit. It can prevent unauthorized access, especially after events like:
- Moving into a new home
- Losing a key or forgetting who has access
- Changes in tenants or roommates
- After a service appointment or delivery
Kwikset locks make this easy, but proper steps must be followed to avoid programming errors.
Before You Begin
First, identify what type of Kwikset SmartCode lock you own. Common models include SmartCode 909, 910, 913, and 914. While the code-changing process is similar across models, minor differences may exist, so refer to the product manual if needed.
Also, keep in mind that you’ll need to know the current programming code to update the user access code. If the programming code has been forgotten, a full factory reset may be necessary.
Step-by-Step Guide to Changing the Kwikset Lock Code
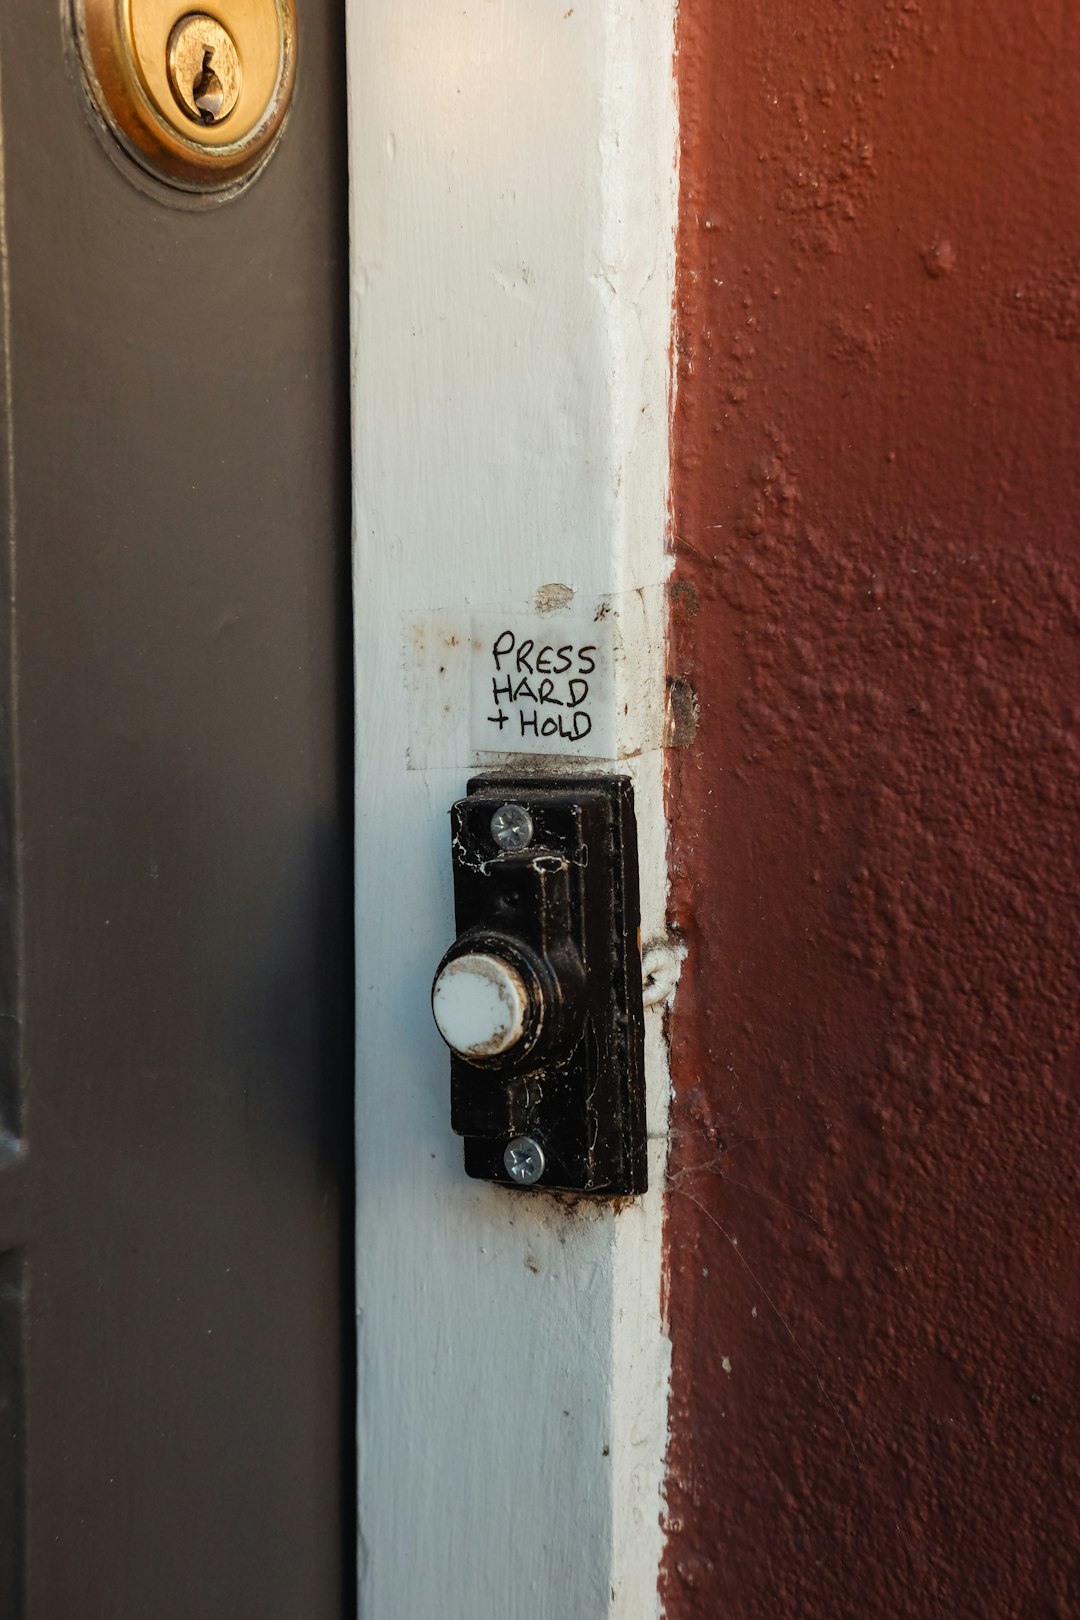
Step 1: Open the Battery Cover
Use a screwdriver or your hands (depending on your model) to remove the lock’s interior cover. This exposes the battery compartment and the programming button that you’ll need for code updates.
Step 2: Press the Program Button
Locate the small “Program” button, often found just above or near the batteries. Press and release the button once. A keypad flash and a beep will confirm it’s ready for programming.
Step 3: Enter the Programming Code
Using the keypad, enter your current 4-to-8-digit programming code, then press the lock button. The lock should beep once, signaling it’s accepted the command.
Step 4: Add or Change a User Code
Now press the “1” button to indicate you’re adding/changing the first user code. Enter your new 4-to-8-digit user code and press the lock button. A green flash and a single beep indicate success.
- To Change the Second User Code: Press “2,” then enter the new code and press the lock button.
- To Delete a Code: Repeat the steps using the same code to overwrite or follow the deletion instructions per your model.
Step 5: Test the New Code
Close the battery cover and test the lock with your newly programmed code to ensure it’s working as expected.
Resetting the Programming Code (If Forgotten)
If you don’t remember your programming code, a factory reset is usually your only option. To reset the lock:
- Remove the battery pack from the unit.
- Press and hold the program button while reinserting the battery pack.
- Continue holding the button until the lock beeps and the LED flashes red.
- Release the button and wait 30 seconds for the reset to complete.
Note: A factory reset will erase all user codes and settings, so you’ll have to set everything up from scratch afterward.
Troubleshooting Common Issues
If the lock doesn’t accept the new code or beeps multiple times, consider the following:
- Was the new code already in use?
- Did you forget to press the lock button after entering the new code?
- Is the keypad malfunctioning due to low battery levels?
Replacing batteries or resetting the lock could resolve persistent issues.
Final Thoughts
Changing the code on a Kwikset SmartCode lock is a vital step in maintaining home security. Whether you’re preventing unauthorized entry or just updating access for peace of mind, following the proper procedure ensures that your lock functions as intended.
Regularly updating your entry codes, especially after significant life events like moving or changing roommates, is a good practice. Kwikset makes it simple, but as with any high-security tool, diligence and care are essential.
Remember to always test your new entry code and keep a backup in a secure place for emergencies.


