
Accessing internal systems and resources securely is crucial for any large healthcare organization, and Northwell Health is no exception. Whether you’re a full-time clinician, administrative employee, or part-time contractor, setting up VPN access is essential to work remotely and safeguard patient data. The good news is that you don’t have to call IT every time you need VPN setup or troubleshooting. In this detailed guide, we walk you through a step-by-step process to configure the Northwell VPN on your own—securely, quickly, and efficiently.
What is a VPN and Why You Need It?
A Virtual Private Network (VPN) creates a secure connection between your personal device and Northwell’s internal network. This encrypted tunnel ensures that sensitive information like patient data and internal resources remain protected from unauthorized access, especially when you’re working from home or a public Wi-Fi network.
With Northwell’s VPN, known as Pulse Secure (also referred to as Ivanti Secure Access), you’ll have secure access to files, applications, and internal communications tools that are otherwise inaccessible from outside the network.
Before You Begin
Before beginning the installation and configuration process, make sure that the following prerequisites are in place:
- Valid Northwell ID and password
- Two-factor authentication method enabled (typically Duo Mobile)
- Administrator access on your device (Windows or macOS)
- Stable internet connection
Having these items in check will streamline the process and help you complete the configuration without any hiccups.
Step-by-Step Setup for Northwell VPN
Step 1: Log in to the Remote Access Portal
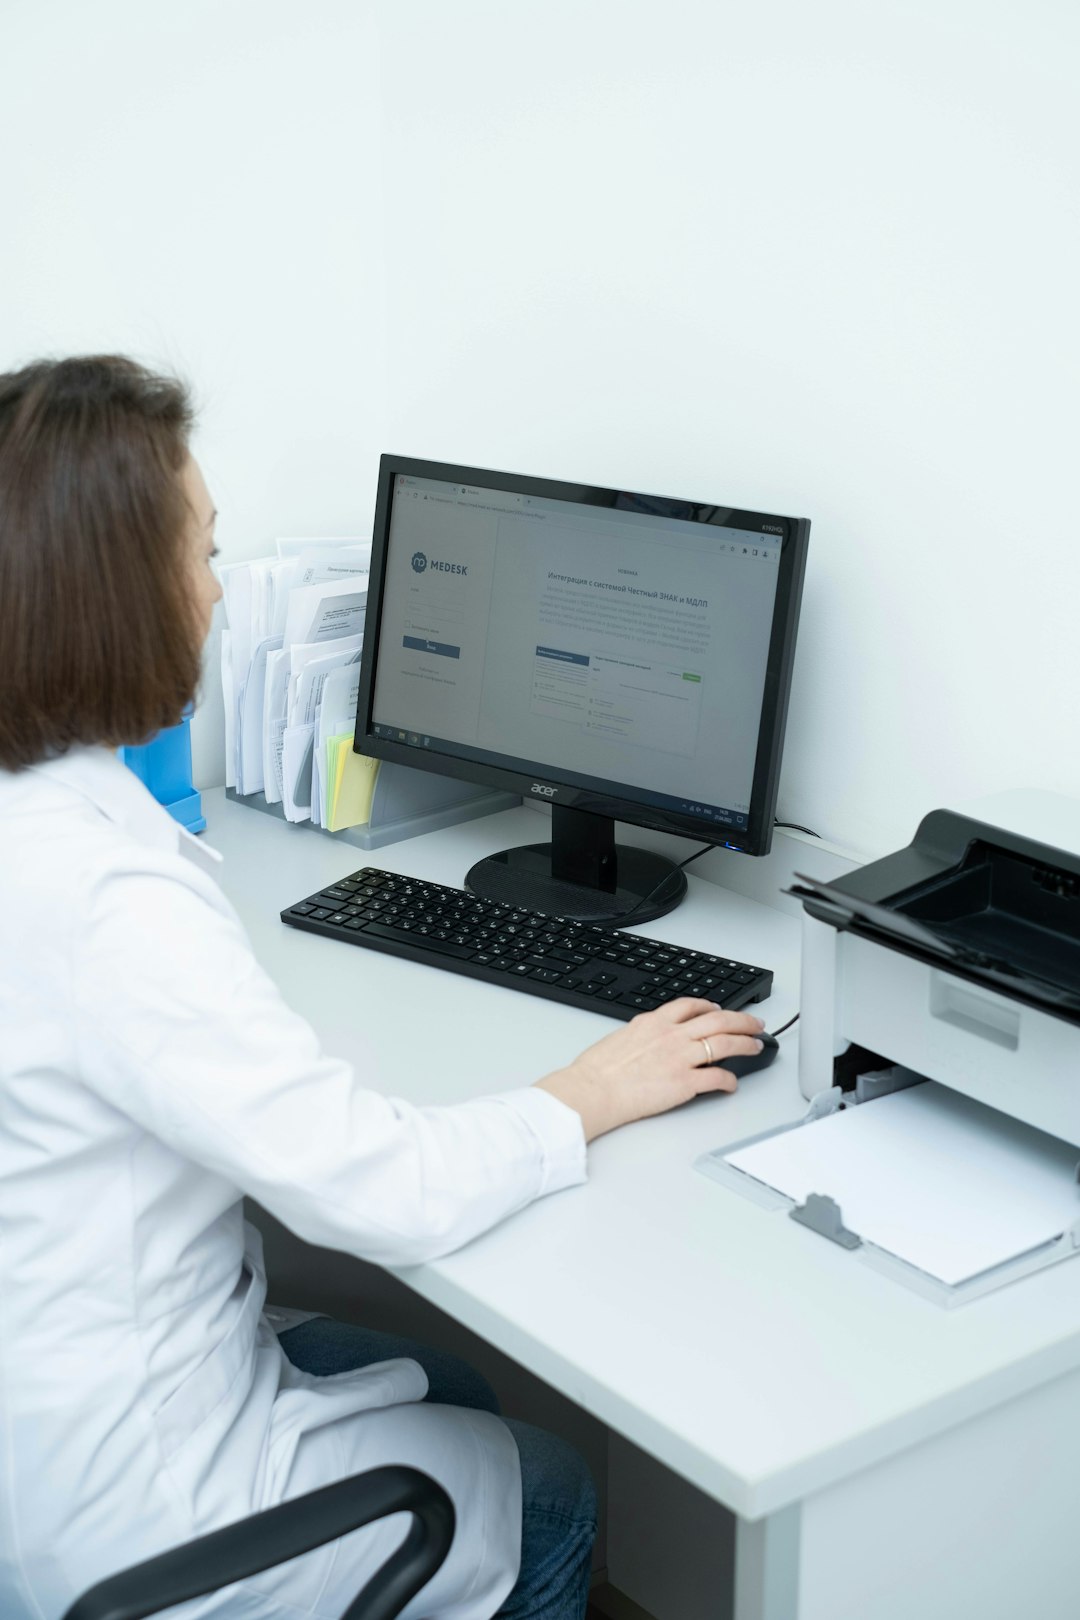
Open your preferred web browser (Chrome, Edge, or Safari) and navigate to the official Northwell Remote Access Portal.
Enter your Northwell credentials—username and password—and click “Login”. You will be prompted for the second factor of authentication, typically a push notification sent to the Duo Mobile app.
Step 2: Download the Pulse Secure (Ivanti) Client
Once authenticated, you will be redirected to the dashboard. Look for a section titled “VPN Access” or “Download Pulse Secure”.
Select the version compatible with your operating system:
- Windows: PulseSecureSetup.exe
- macOS: PulseSecure.dmg
Click the appropriate link to download the installation package.
Step 3: Install the Client
After download, open the installation file:
- Windows: Double-click the .exe file and follow the installation wizard. Select default settings unless instructed otherwise.
- macOS: Open the .dmg file, then drag the Pulse Secure app into your Applications folder. You may be prompted to approve the installation in your Security & Privacy settings.
Once installed, you may find the Pulse Secure icon in your system tray (Windows) or menu bar (macOS).
Step 4: Add a New VPN Connection
Open Pulse Secure and click the “+” icon to add a new connection. In the dialog box that appears, input the following settings:
- Name: Northwell VPN
- Server URL: remote.northwell.edu
- Type: Policy Secure (UAC) or Connect Secure (VPN)
Click “Add” to save the configuration.
Step 5: Connect to Northwell VPN
Select Northwell VPN from your connection list and click “Connect”.
Enter your Northwell username and password again. After you submit these, a Duo Mobile push will be sent to your registered phone. Confirm the login, and the VPN should establish a secure connection within a few seconds.
You’ll know you’re connected when a green icon appears, and your desktop may show a small lock symbol depending on your operating system.
Troubleshooting Common Errors
If you encounter issues during setup or while connecting, here are some quick resolutions:
- “Authentication Failure”: Double-check your username, password, and ensure Duo is working.
- “Unable to Connect to Server”: This could be due to a typo in the server address (ensure it is remote.northwell.edu) or internet problems.
- Pulse Secure Won’t Launch: Reboot your system or run the client as administrator.
- macOS Security Block: Head to System Preferences > Security & Privacy and allow Pulse Secure manually.
Still stuck? Try temporarily disabling antivirus software or firewall and see if the issue resolves. Always enable them again once connected.
Keeping Your VPN Secure
Once you’re connected, remember that with access comes responsibility. Northwell’s data protection standards are rigorous for a reason, and compliance is not optional.
Here are a few best practices to use VPN securely:
- Always log out when you’re done—don’t leave VPN running overnight.
- Use encrypted Wi-Fi at home and never connect via public, unsecured networks.
- Keep your OS and VPN client updated to prevent vulnerabilities.
- Report suspicious behavior immediately through Northwell’s IT Security office.
Security is a shared responsibility. Treat your remote access as if you’re sitting at your hospital workstation.
When to Contact IT
Although this guide is meant to help you avoid IT calls, there are situations where assistance is necessary:
- Your credentials have expired or are locked
- You’ve lost access to your Duo authentication method
- You receive unexpected firewall notifications or error logs
If you run into these issues, contact the Northwell IT Support Center by calling (516) 470-7272 or emailing itservicedesk@northwell.edu.
Final Thoughts
Setting up the Northwell VPN doesn’t have to be a complicated process. By following these precise steps, most users can quickly install, configure, and connect their devices to the secure network without needing to rely on IT support. This not only saves time but also strengthens your role in maintaining compliance and security across Northwell’s digital infrastructure.
Remote work in the healthcare sector demands the highest standards of cybersecurity. A properly configured VPN connection is the first step in meeting those standards. Ensure that you’re always accessing data responsibly and with the highest regard for patient privacy and organizational integrity.
Take a few minutes now and get secure—on your terms, without depending on IT for every small detail.
: Add Gift Wrap & Notes in WooCommerce (Clean Tax, Stock, and Reporting)")


