
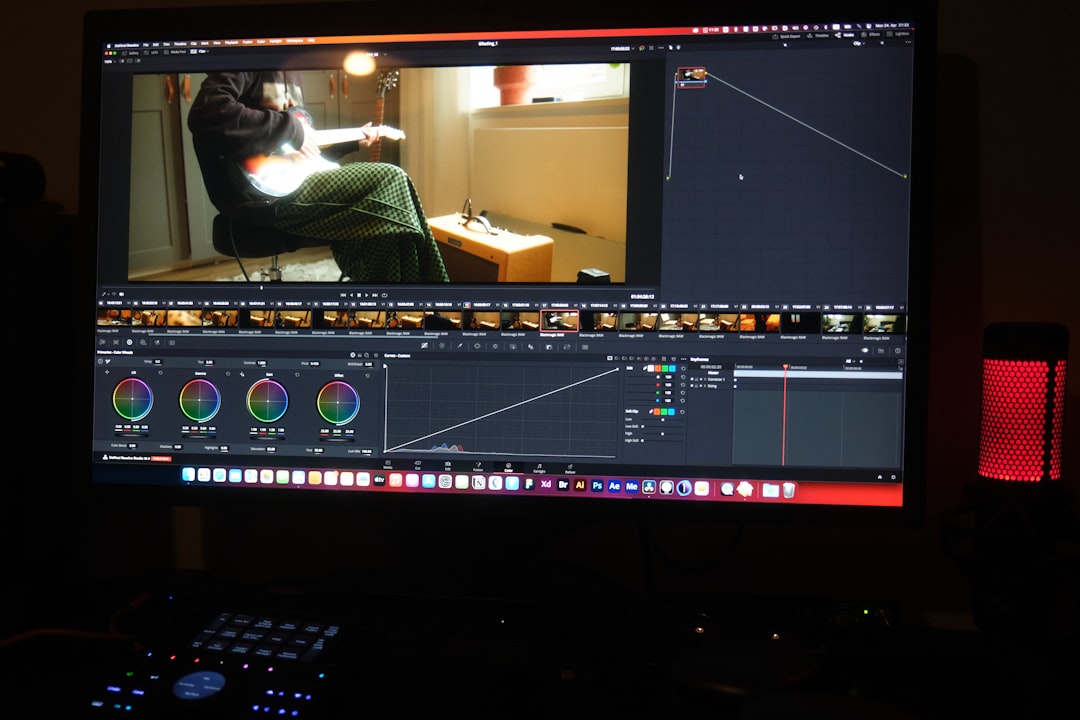
Editing videos often involves tweaking orientations, especially when content is captured at an odd angle. If you’ve found yourself with a video that’s rotated sideways or upside down, Sony Vegas has the tools you need to make it right. Rotating a video in Sony Vegas may sound challenging at first, but it’s a straightforward process that can help you perfect your project. Whether you’re working on a professional video or just fixing your personal clips, this guide will walk you through the steps to rotate a video 90 degrees in Sony Vegas.
Step-by-Step Guide to Rotate a Video 90 Degrees
Follow these detailed steps to rotate your video clip to the desired orientation:
Step 1: Import Your Video
Before making any changes to a video, you need to import it into your Sony Vegas project. If you’re not familiar with this process, here’s how:
- Open Sony Vegas on your computer.
- Click File in the top-left corner, then select Import and choose Media.
- Browse your files, select the video you want to rotate, and click Open.
Once the video is imported, drag it onto the timeline for editing.

Step 2: Access the Video Properties
The next step is to access the tool that allows you to rotate the clip. Here’s how:
- Locate the track on the timeline where your video is placed.
- Find the small square icon at the end of the video clip. This is the Event Pan/Crop tool.
- Click on the Event Pan/Crop icon to open the settings for that video.
Step 3: Rotate the Video
Now comes the crucial part—rotating your video:
- Within the Event Pan/Crop window, you’ll see a frame surrounding your video.
- Right-click anywhere within the workspace in this window, then select Rotate 90 Degrees Clockwise or Rotate 90 Degrees Counterclockwise, depending on how you want to orient your clip.
- The video will instantly adjust to the chosen orientation.
If further fine-tuning is needed, you can drag and rotate the frame manually by selecting a corner of the bounding box. Adjust until your video is perfectly aligned.
Step 4: Match Frame to Video Size
After rotating, you may notice that parts of the video extend beyond the screen or reveal black edges. Use the following steps to correct this:
- In the same Event Pan/Crop window, adjust the Position settings until your video fits perfectly within the frame.
- For even placement, ensure the Lock Aspect Ratio and Stretch to Fill Frame options are enabled.
Step 5: Preview Your Edits
Once the video is rotated and aligned, it’s time to review your work:
- Close the Event Pan/Crop window.
- Play your video clip in the Sony Vegas preview window to ensure the rotation looks correct and meets your expectations.
If additional adjustments are necessary, you can go back to the Event Pan/Crop window to tweak further.
Step 6: Render Your Video
When you’re satisfied with the orientation, save your changes and export your project. Here’s how to render your video:
- Click File, then select Render As.
- Choose your preferred format and quality options.
- Give your output file a name and select the save location.
- Click Render to complete the process.
Pro Tips for a Perfect Rotation
Here are some additional tips to make your video editing experience smoother:
- Practice using keyboard shortcuts in Sony Vegas to speed up your editing workflow. For instance, the shortcut Ctrl+Z lets you undo any mistakes quickly.
- Use the zoom feature in the Event Pan/Crop window for precise adjustments.
- Always preview your changes to ensure the rotation doesn’t affect the video’s visual appeal or other elements.
Conclusion
Taking the time to properly rotate a video in Sony Vegas can enhance its presentation and demonstrates your attention to detail as a creator. Whether you’re a beginner or an experienced editor, mastering these simple steps will open the door to more polished and professional video outputs. So go ahead and give it a try—your perfectly aligned masterpiece awaits!
 on Any Device")


